
Jumpin' On The Bandwagon Late Again....With A Great Mother's Day Gift!!!
Yay! I'm finally making washer necklaces.............now that everyone else has already made them!!

So, I've had this on my "list" for awhile now, but JUST got around to doing it a few weeks ago thanks to my friend Heidi.
She CLAIMS that she's not crafty, but is always showing me all these cute crafty things she's done........
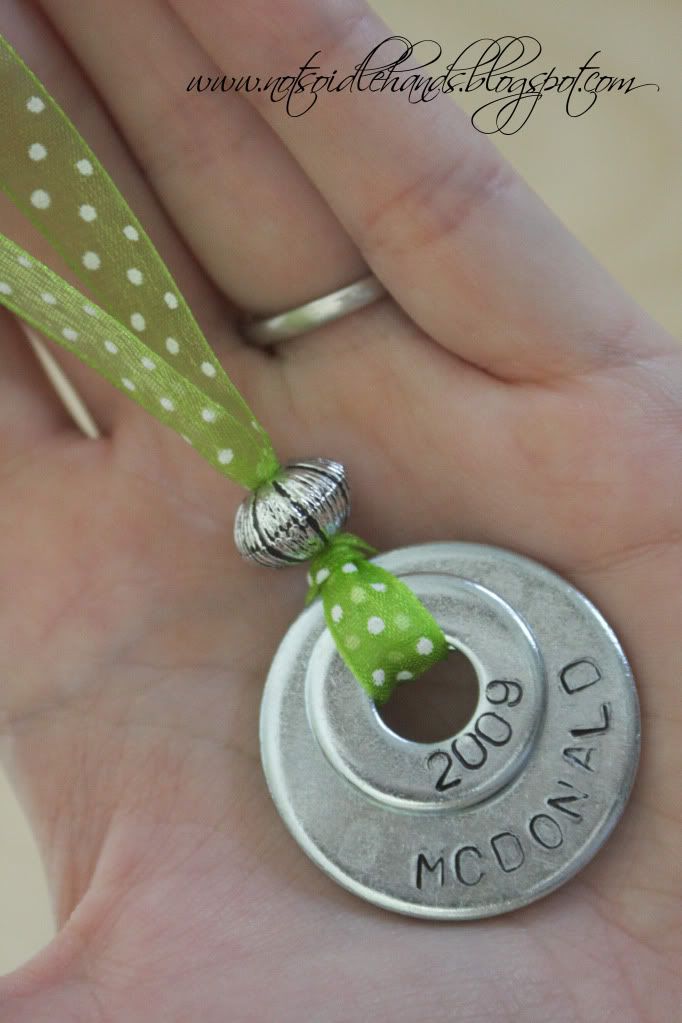
And, at Christmas she made this A~dorable ornament as a gift topper!!! She didn't think it was anything to rave about, but I beg to differ :)
So, of course I HAD to make some too!! (in the form of necklaces, though)
And we did this with our Activity Days girls too and they did a GREAT job!!!
I have seen them around blogland and thought they were SO cute, but had no stamping set :(
Until......
Until......
.....Heidi let me borrow her sets of metal stamps and gave me a quick tute on how to use them (but I still managed to ruin a few before I got it right :).......so I will now pass on that knowledge to you cool people.


(this is what the letters look like.....can you tell they have been well used?)

She got these stamping kits on sale for $5 bucks each at a local Harbor Freight store (and they sell online too) and the washers you can just get at any place that sells building materials (ie nails, nuts, bolts, screws, etc.) for mere pennies.
You will also need:

Just take the letter...........and place it where you want it.......... and hammer it (pretty hard) 5-10 times to get it imprinted on the washer.

Here's what it looks like after stamping (I messed up on the "E" and didn't feel like doing it over :)


I also added the magnetic fastener to make it easier for the kiddos to put them on and take them off (we salvaged some from 2 broken necklaces they had lying around)

- Ribbon
- Black sharpie
- Beads (if you want)
- Hammer
- And I used magnetic neckalce fasteners for mine
I also used a self-healing mat under the washers to protect the floor (if you do it inside). Make sure to do it on a hard floor (not your purdy hardwood floors, though :-0

Just take the letter...........and place it where you want it.......... and hammer it (pretty hard) 5-10 times to get it imprinted on the washer.

Here's what it looks like after stamping (I messed up on the "E" and didn't feel like doing it over :)


Then, once you're finished.......color the letters in with a black sharpie and quickly wipe the excess off with a baby wipe. I changed the washer in the second pic to show you all the one I made for Aislyn......since it doesn't look like I did it while I was drunk it's prettier.
Now cut your ribbon and add your bead!!
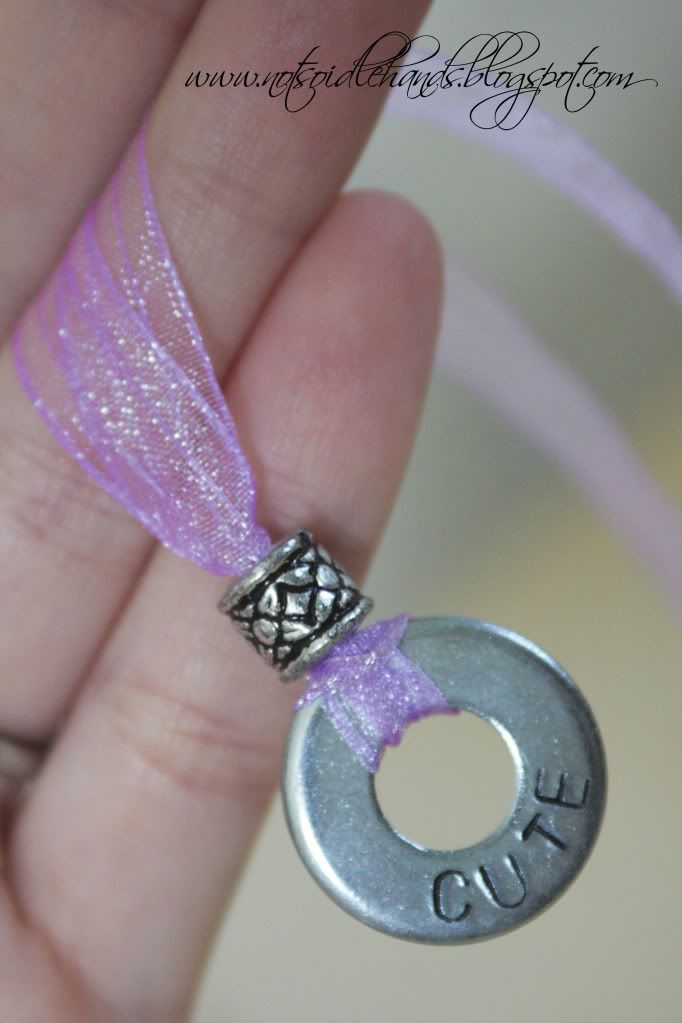
Ta~Da!!!
Cute huh? And so easy.......a Caveman can do it!!!
I made these for my girls with the smaller size washers and thought they looked SO sweet.

I also added the magnetic fastener to make it easier for the kiddos to put them on and take them off (we salvaged some from 2 broken necklaces they had lying around)

At Activity Days, we showed the girls this idea and a few of them did the small CTR with their names on the big one.
My friend Jessica (who does AD with me) made one for her friend's baby shower with "love" on the small one and her kids' names on the larger one.
Anyhoo, this would make an AWESOME Mother's Day gift since you can totally personalize it however you want.
Have Fun!!
This is so cute!! I can't wait to pilfer my husband's supply of washers!! I actually have a letter kit like this that I inherited and can't wait to try this craft :) I've shared your link on FB, Twitter, and will post it wherever I can! Thanks for sharing!
ReplyDeleteThank you for sharing the link. I used nail polish on the washers today. I hope to have them dry and strung tomorrow. Check back for the photo. They look like they are going to dry beautifully.
ReplyDeleteWow these are so cute. I can't wait to get a stamping set!
ReplyDeleteThanks Michelle, this is a great idea. I just ordered the stamping kit and I will be using it for christmas gifts for the family!!
ReplyDelete